Printing Methods for the Washington Franklins and Series of 1922 U.S. Stamps
By Bob Allen and Don Denman
Flat Plate Vs Rotary Vs Offset
Flat Plate
Rotary Press
Offset
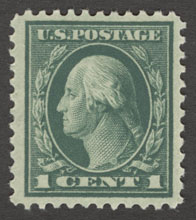
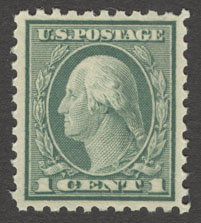
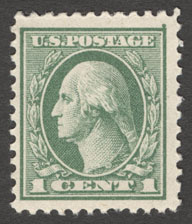
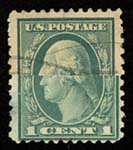
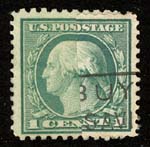
There were three methods employed in the printing of the Washington Franklin Head stamps, the flat plate press, the rotary press and the offset press. All designs and denominations of the Washington Franklin stamps were printed using the flat plate method. Only the 1¢, 2¢, 3¢ 4¢, 5¢ and 10¢ stamps were printed using the rotary press method and only the 1¢, 2¢ and 3¢ stamps were printed using the offset method. The Washington Franklin rotary press printings were primarily for coil stamps, although some experimental stamps, as well as the "coil waste" and the rare "sheet rotary" stamps, were printed on the rotary presses. The following information applies to the Washington Franklin stamps, as well as the Series of 1922 stamps and certain commemorative stamps of the era, e.g. the Harding and Edison stamps.
The Template Method for Separating Flat Plate and Rotary Stamps
Width Template - the top half of the image above, is placed over the subject stamp. By looking at the right margin it is clear the subject is wider than the template. The subject stamp is therefore rotary.
Height Template - the right half of the image above, is placed over the subject stamp. By looking at the bottom margin it is clear the subject is taller than the template. The subject stamp is therefore rotary.
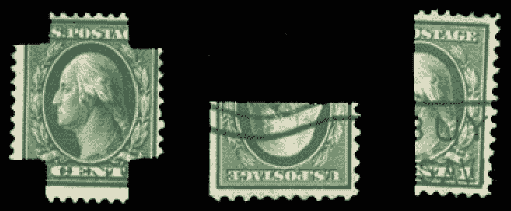
An easy method to sort flat plate and rotary press stamps in quantity is to cut a damaged common flat plate stamp in half and use it as a template. Perf 12 Washington Franklins make good examples since they will always be flat plate. You will need two templates, one cut horizontally and one cut vertically, since the rotary press stamps can be longer in either direction, or you can make a single template with four cut corners, as in the picture above. Note that you can use any flat plate stamp of the same size as a template, it does not have to be of the same denomination or color, only the size matters. You might also want to make a rotary press template if you have a few beat up rotary press coils.
Distinguishing Offset Stamps
The key to separating offset from rotary and flat plate is to realize that the offset stamps were not engraved. This means that the ink lies flat on the paper of the offset stamp. If you hold the stamp at a very sharp angle to a light source, the color on the stamp will almost disappear. This is just the opposite for the engraved stamps. In fact, one way to tell if a U.S. stamp is genuine and not a reproduction, is to perform this test. All engraved U.S. stamps will clearly show raised ink when held at a sharp angle to light. The offset method of printing also resulted in some very poor quality stamps. In many cases a stamp can be identified as offset just by looking at it, the color and printing quality are that poor.
Sometimes visual inspection is not enough and another method of determination must be made. Since the offset method does not employ engraving, the stamp feels flat. Some collectors can feel the lack of engraving by merely running their fingers across the stamp. A semi-soft nib may be ran gently over the surface, particularly in the area of several parallel lines. This must be done very carefully in order to not scratch the ink from the stamps surface or damage the surface of the stamp in any way. Another favorite method is to use a piece of aluminum foil, or other thin foil, the thinner the better. Place the foil over the stamp in question and rub your finger very gently over the foil. The frame of the oval portrait and other details will show on the foil on flat plate and rotary stamps, but will not show on the offset stamps. Again, care must be taken not to damage the stamp by rubbing too hard. Gentle pressure should bring out the features on the engraved stamp. Practice these techniques on some of the more common varieties and you will soon be an expert at separating engraved and offset stamps.
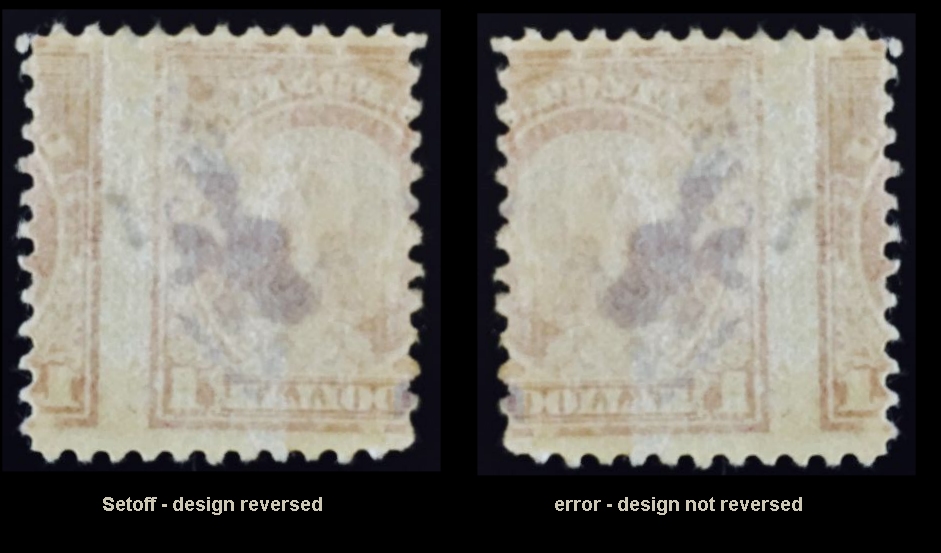
Setoff
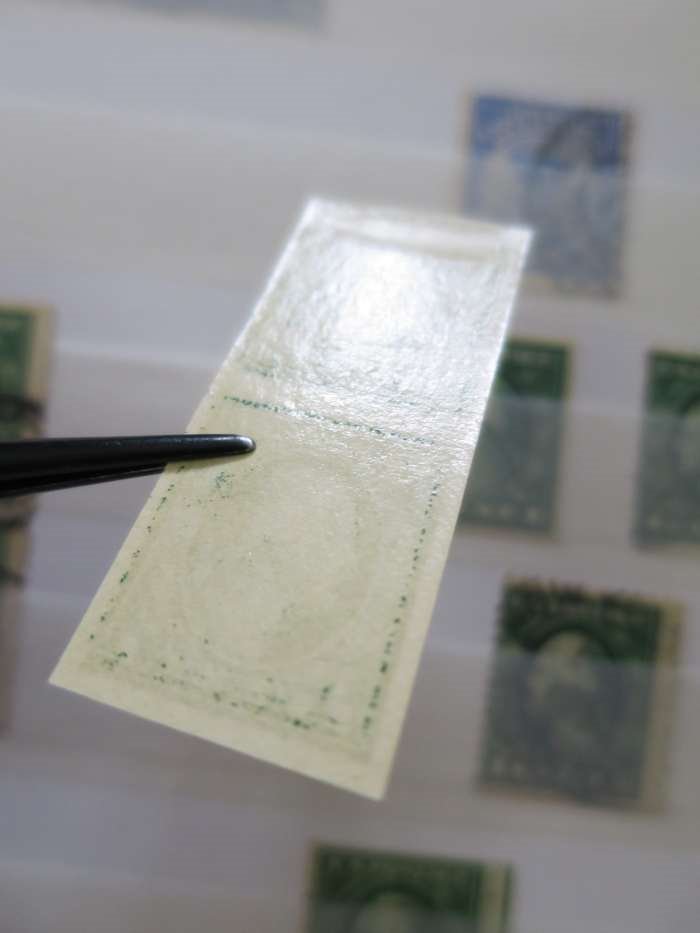
It is important for hobbyists to understand the stamp manufacturing process; flat plate stamps of this era typically have ‘setoff’ ink on the back of the stamp. Flat plate stamps were printed first, then gummed. As they were printed the sheets were stacked, sometimes the ink had not gotten a chance to dry and some amount of ink could be transferred to the undersides of the sheets. The sheets were then gummed and the result is that setoff ink can often be found on both mint and used stamps.
Rotary Press stamps were printed but not stacked, the web roll of printed stamps were streamed and dried. They were then streamed again to the gumming prcoess, then dried again. This procedure did not often did not allow for any setoff ink on the underside of the sheets but it is not impossible. If a rotary stamp has setoff ink then chances it picked it up as the gummed stamps were being rolled at the end of the process; resulting in a small amount of ink on top of the gum.
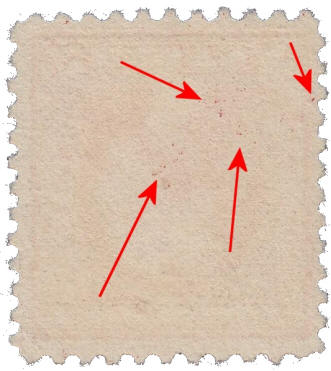
Minor Flat Plate setoff
Significant Flat Plate setoff
Hobbyists sometime can find a full or partial design impression on the back of flat plate stamps. They falsely believe that this is the rare ‘printed on back of stamp’ variety when it is simply setoff. There is simple way to determine if the stamp is setoff or the ‘printed on back’ type error. The determining factor is the orientation of the design itself as illustrated below.
Bibliography and suggested further reading:
Printing Postage Stamps by Line Engraving, by James H. Baxter. Printed by the American Philatelic Society
The Development of the Rotary Press Printing, by Max G. Johl - Stamp Specialist Vol. 1: 1, Published 1939
United States Stamps 1922-1926, by Gary Griffith. Published by Linn's Stamp News.
Fundamentals of Philately, by L. N. and M. Williams. Published by the American Philatelic Society