How To Use RetroReveal
To Enhance Cancels
By Don Denman
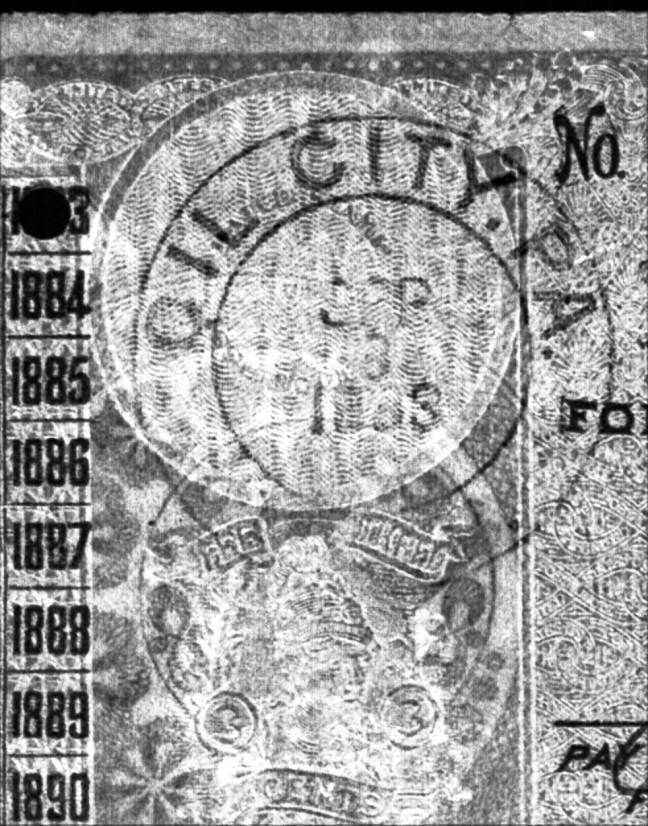
Many existing image applications can split an images into its component color channels, this can often help in isolating cancels. Retroreveal is a free, online tool which also does this; allowing you to better see faint cancels. Below are step by step instructions on submitting images to RetroReveal. (You can clilck on the images below to see larger images.)
Step 1
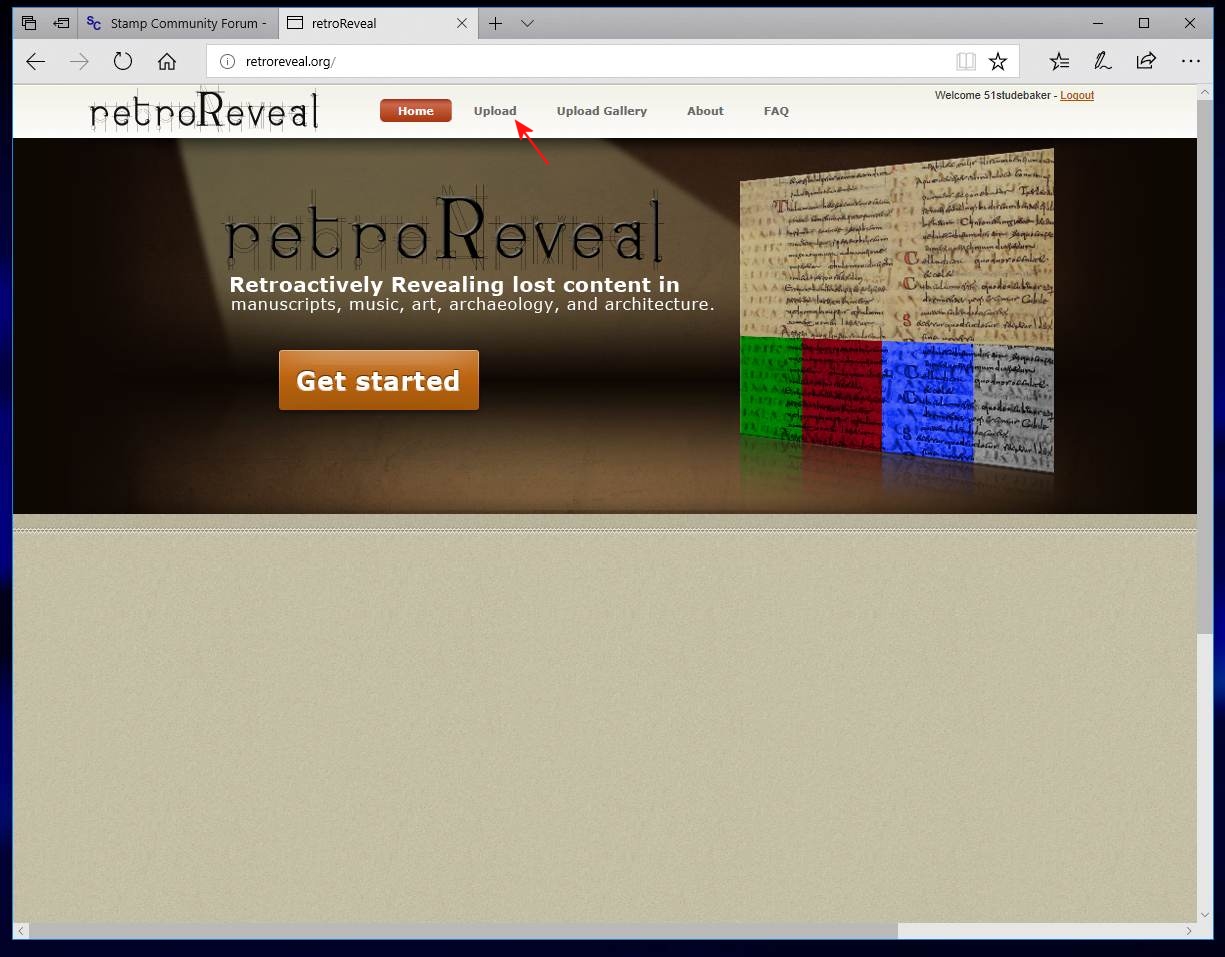
Begin by logging into RetroReveal. If you do not have an account, you will need to establish one. Once logged in, click the 'Upload' link at the top of the page.
Step 2
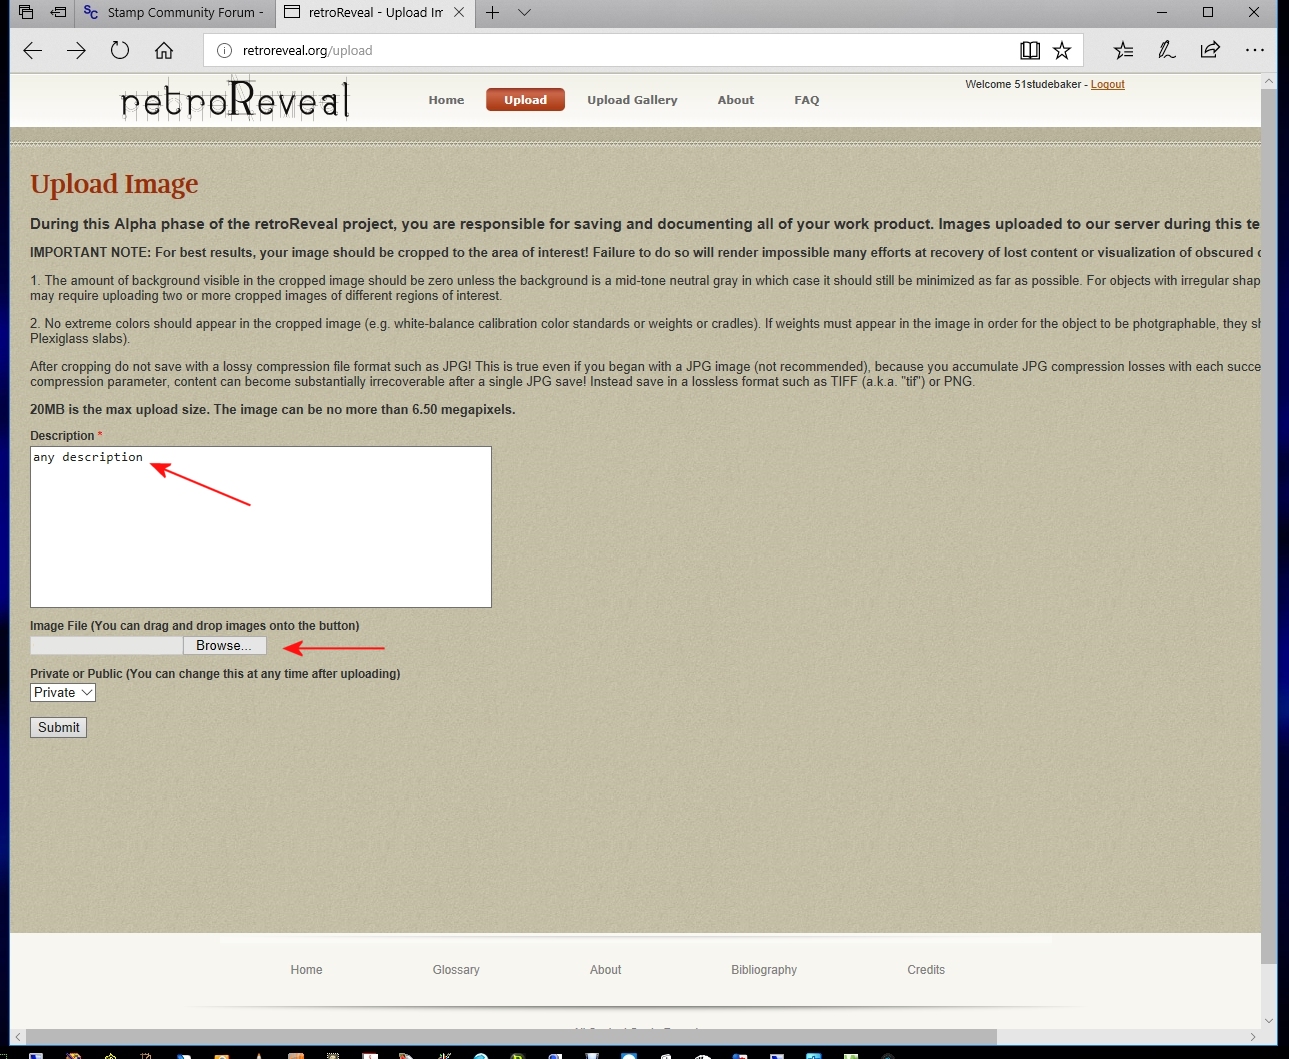
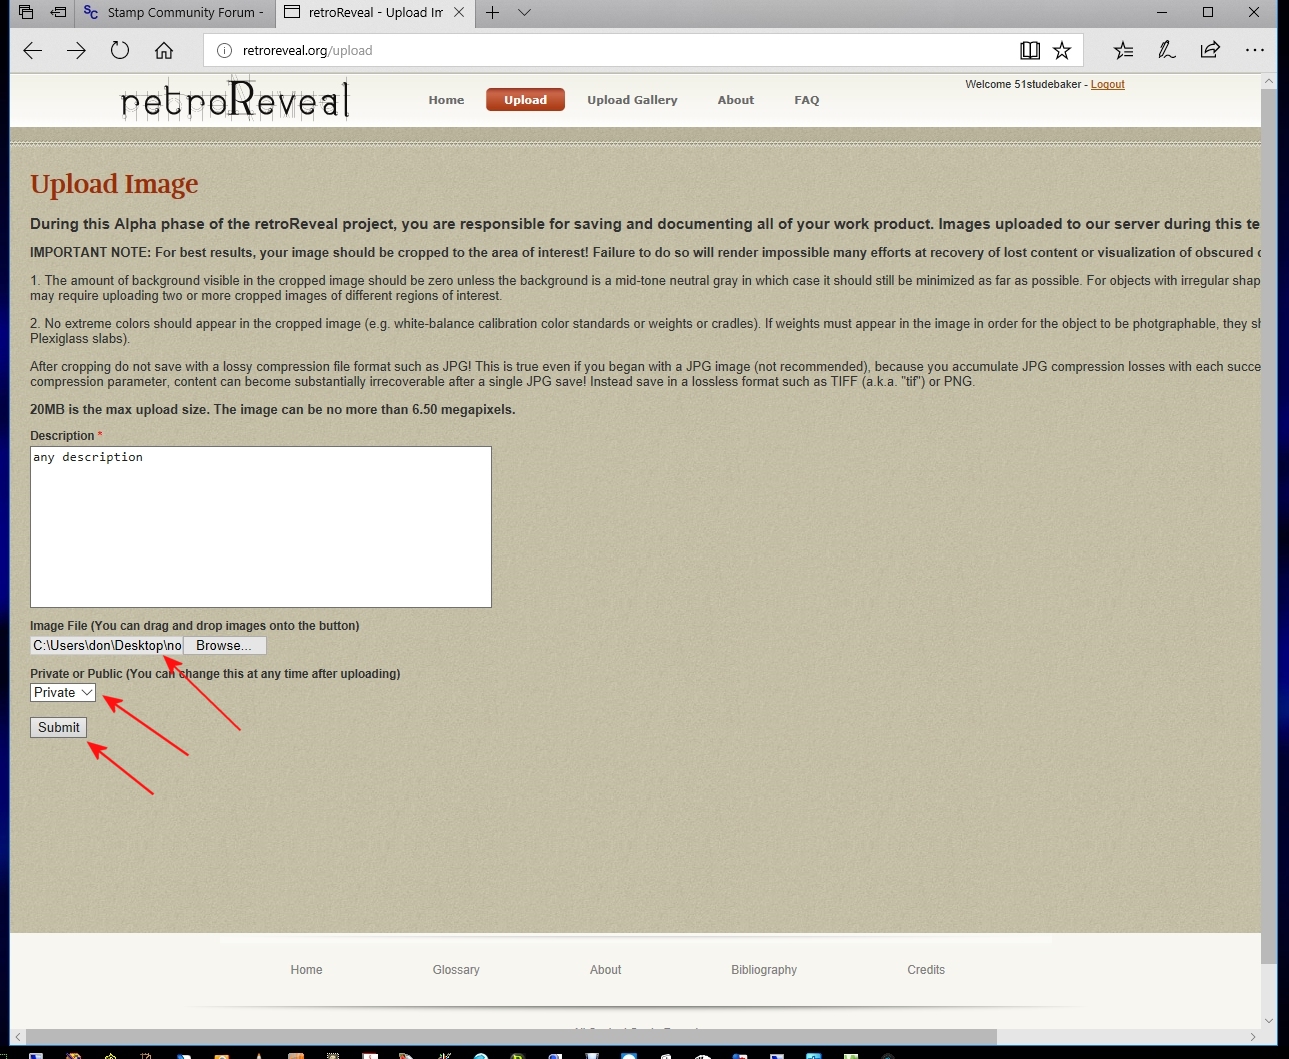
Enter a description (required). Then click on the Browse button to navigate to the image you want to upload.
Step 3
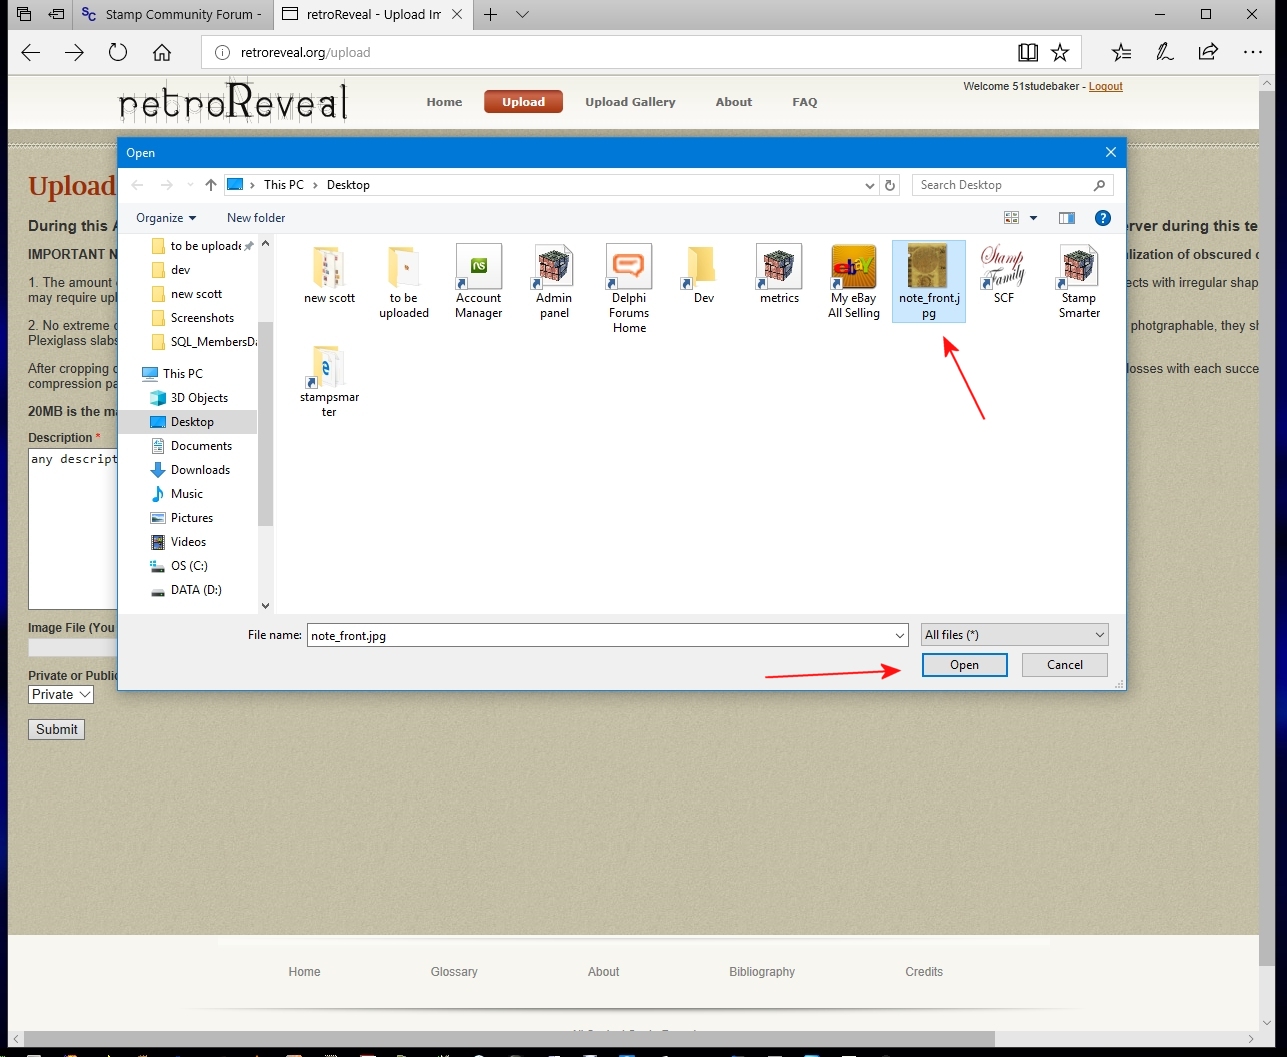
Navigate to your image and then click 'Open'.
Step 4
The path to the file you slected will now be displayed. You can also select if you want your image to be 'public' or 'private'. 'Public' adds your image to their website where everyone can view it. 'Private' only allows you to see it.
Click on 'Submit'
Step 5
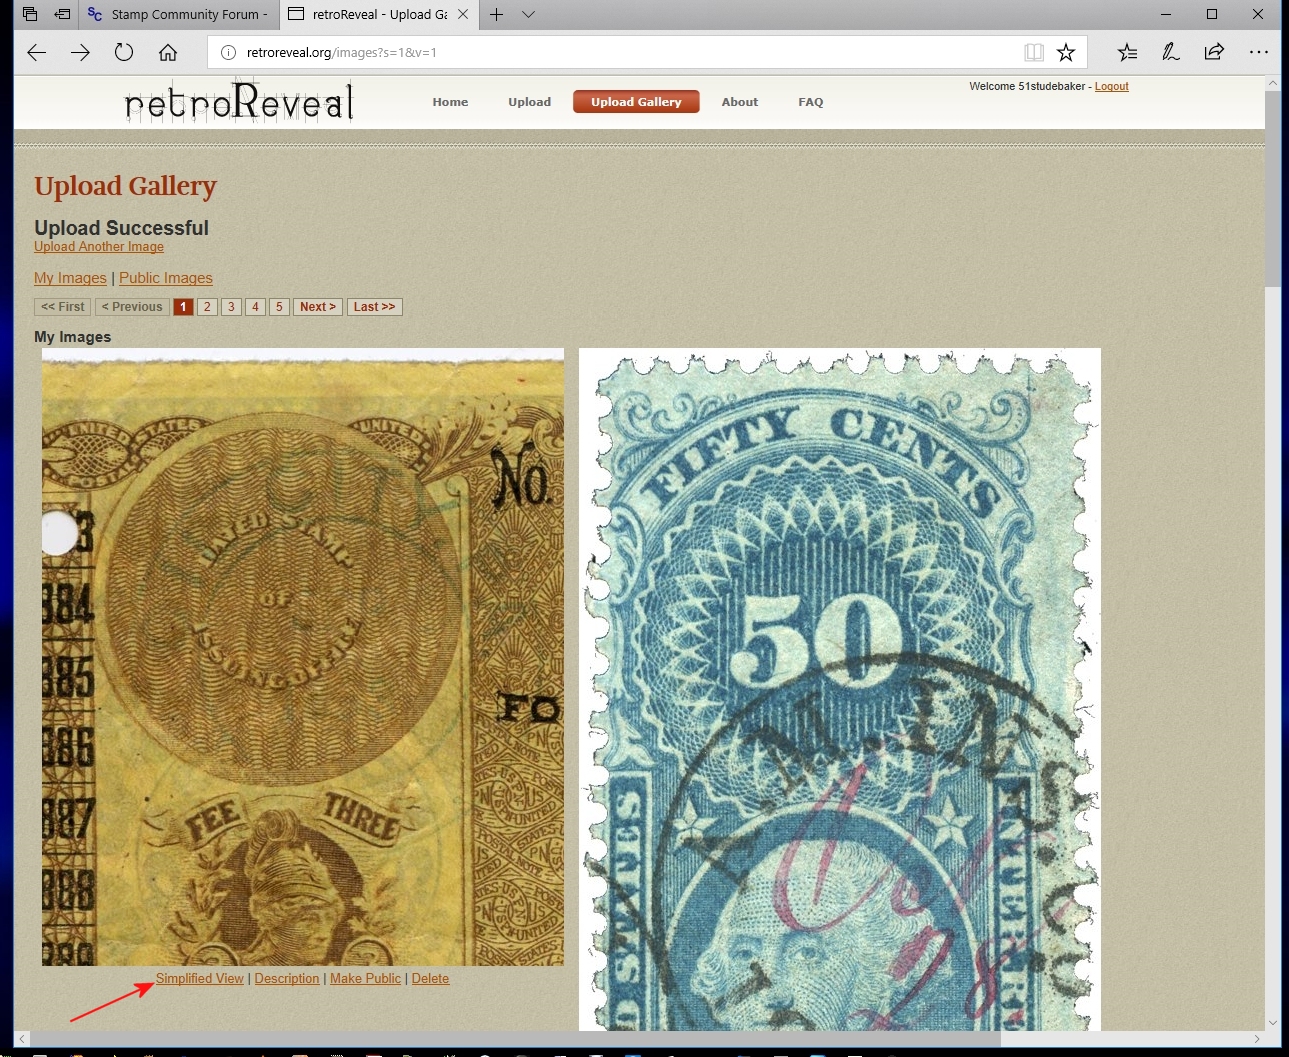
RetroReveal will return you to your Upload Gallery page. You are now ready to run the color Channel Inspecting process, to start simply click on the link named 'Simplified View' underneath the image.
Step 6
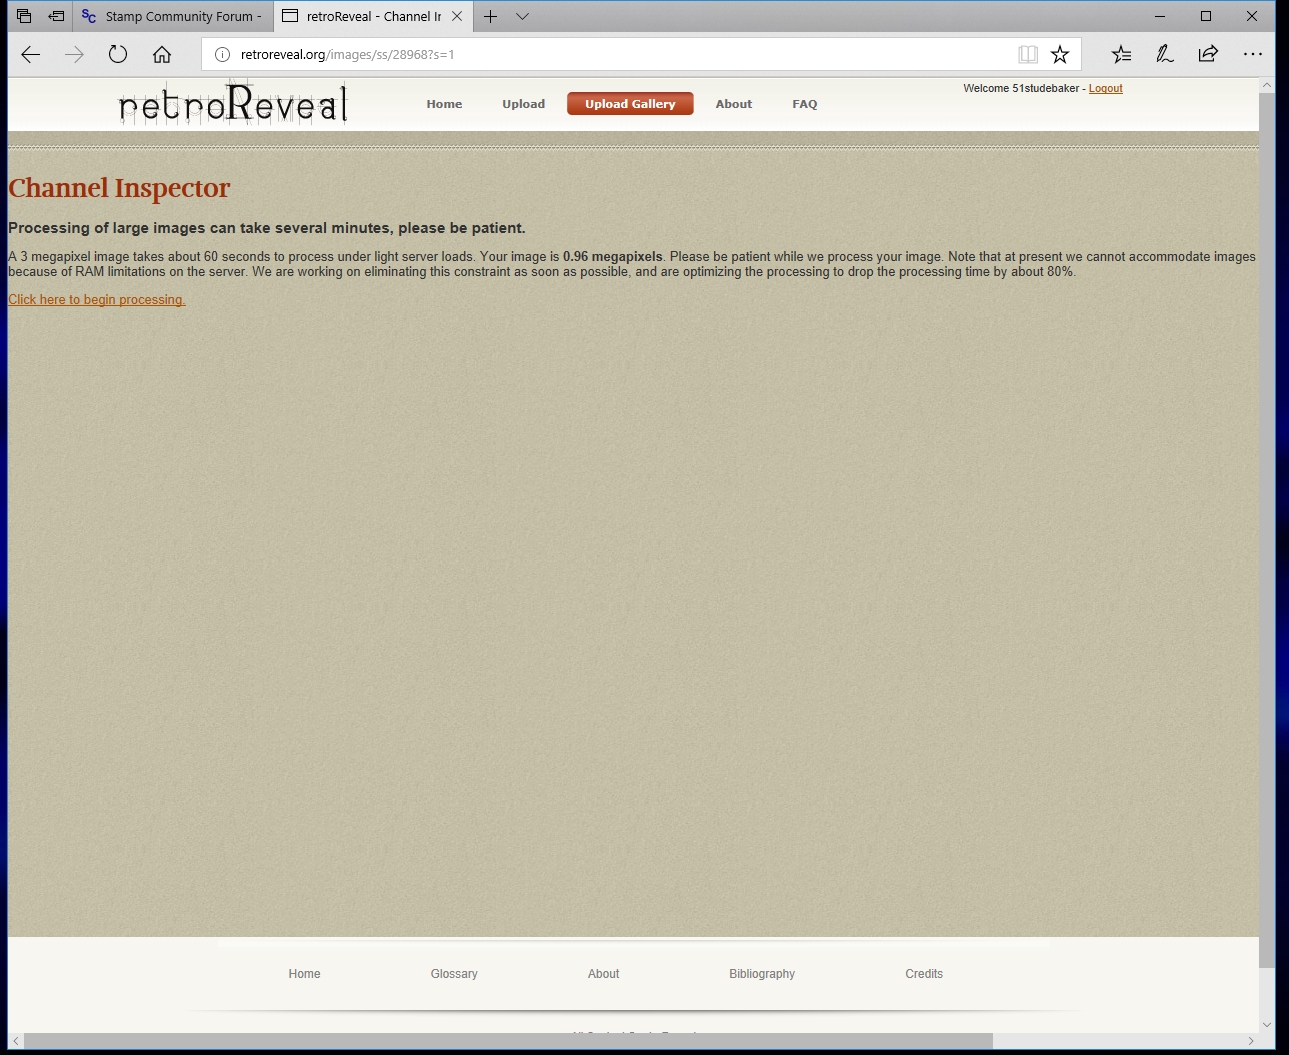
Click on the 'Click here To Begin Processing' link
Step 7
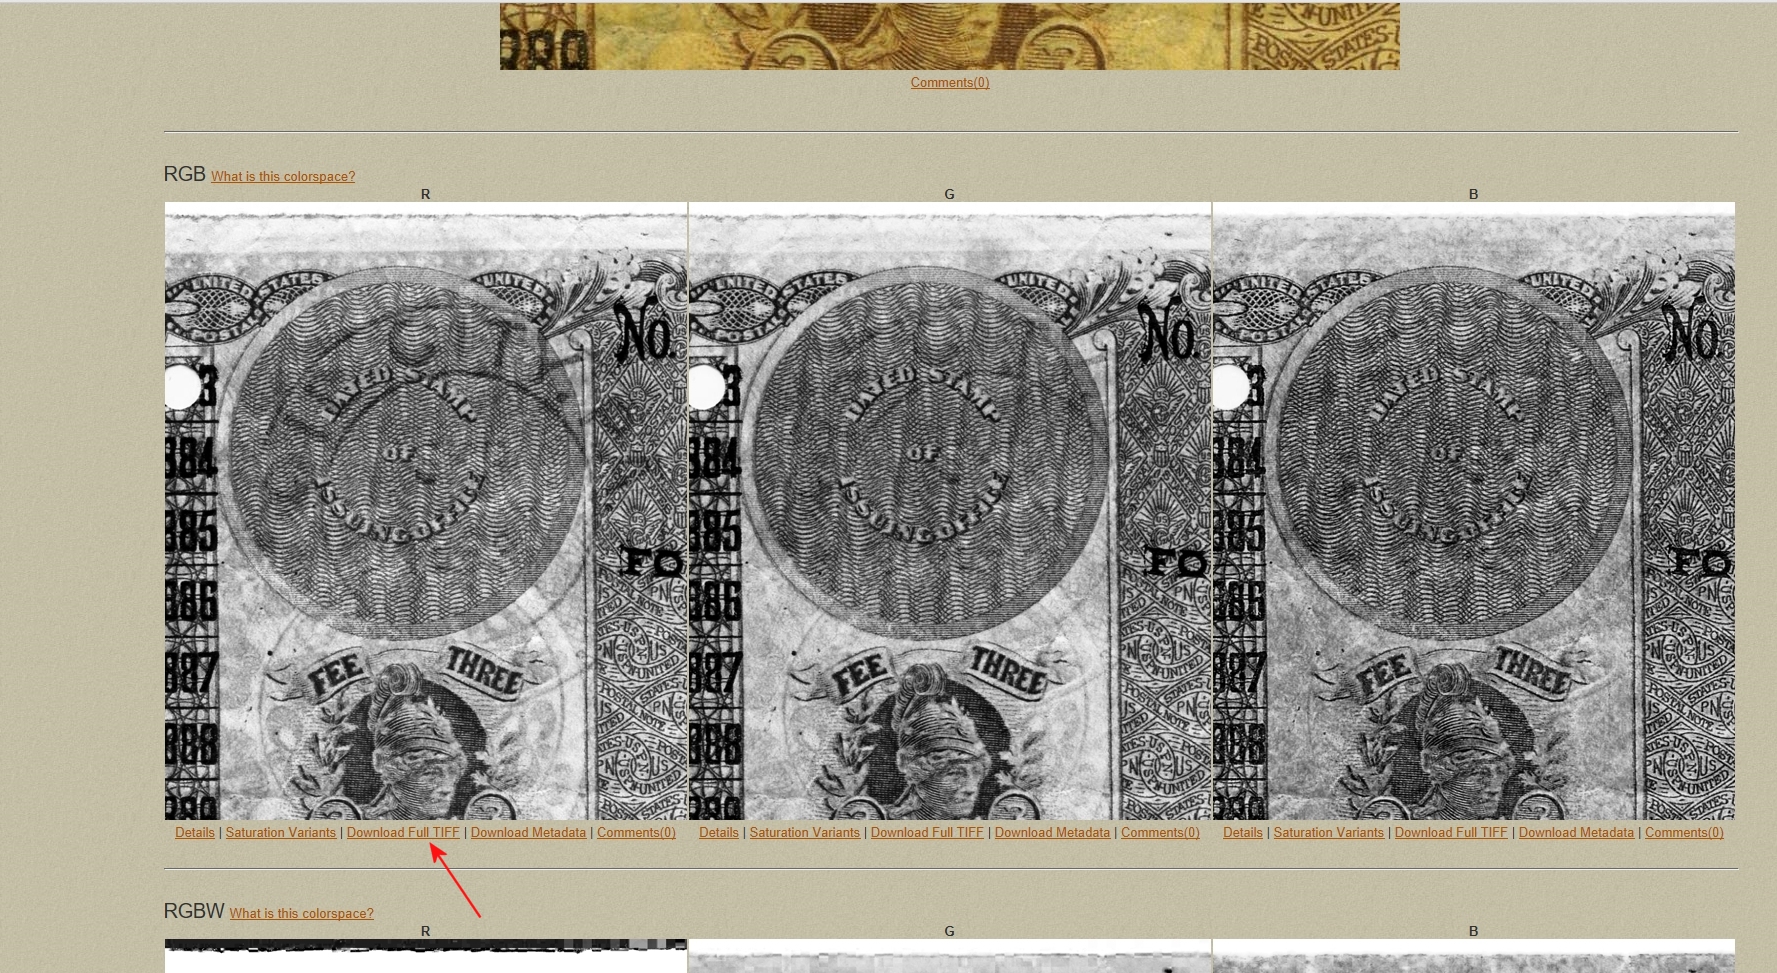
RetroReveal will display a long page of various 'split color channels' to choose from; which one reveals the cancel the best depends on the colors in the image. Scroll down the page and when you find one you would like to save, click on the 'Download Full TIFF' link.
Hint; If you would rather save the image as a JPG, right click the image and select "Save Image As' from the drop down menu.