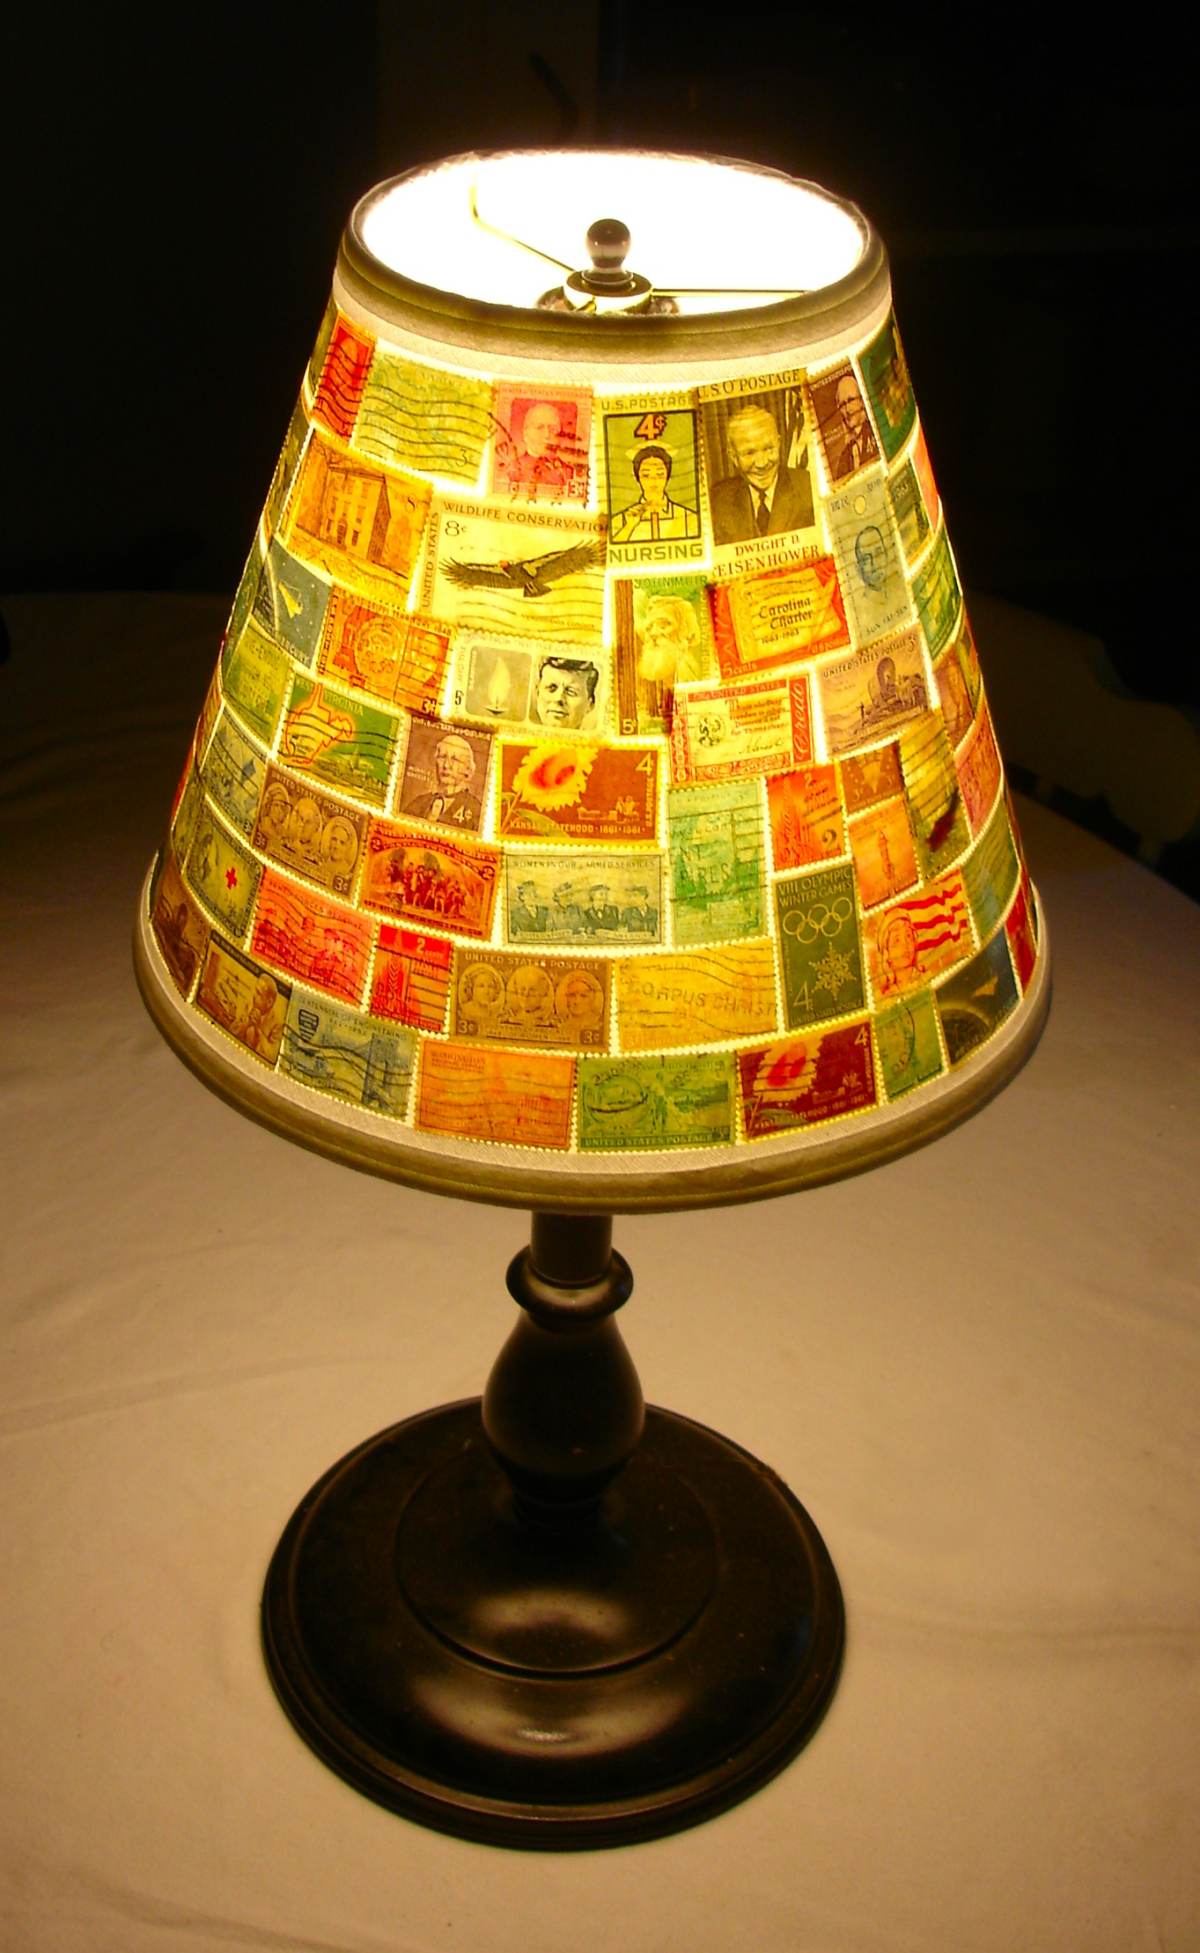
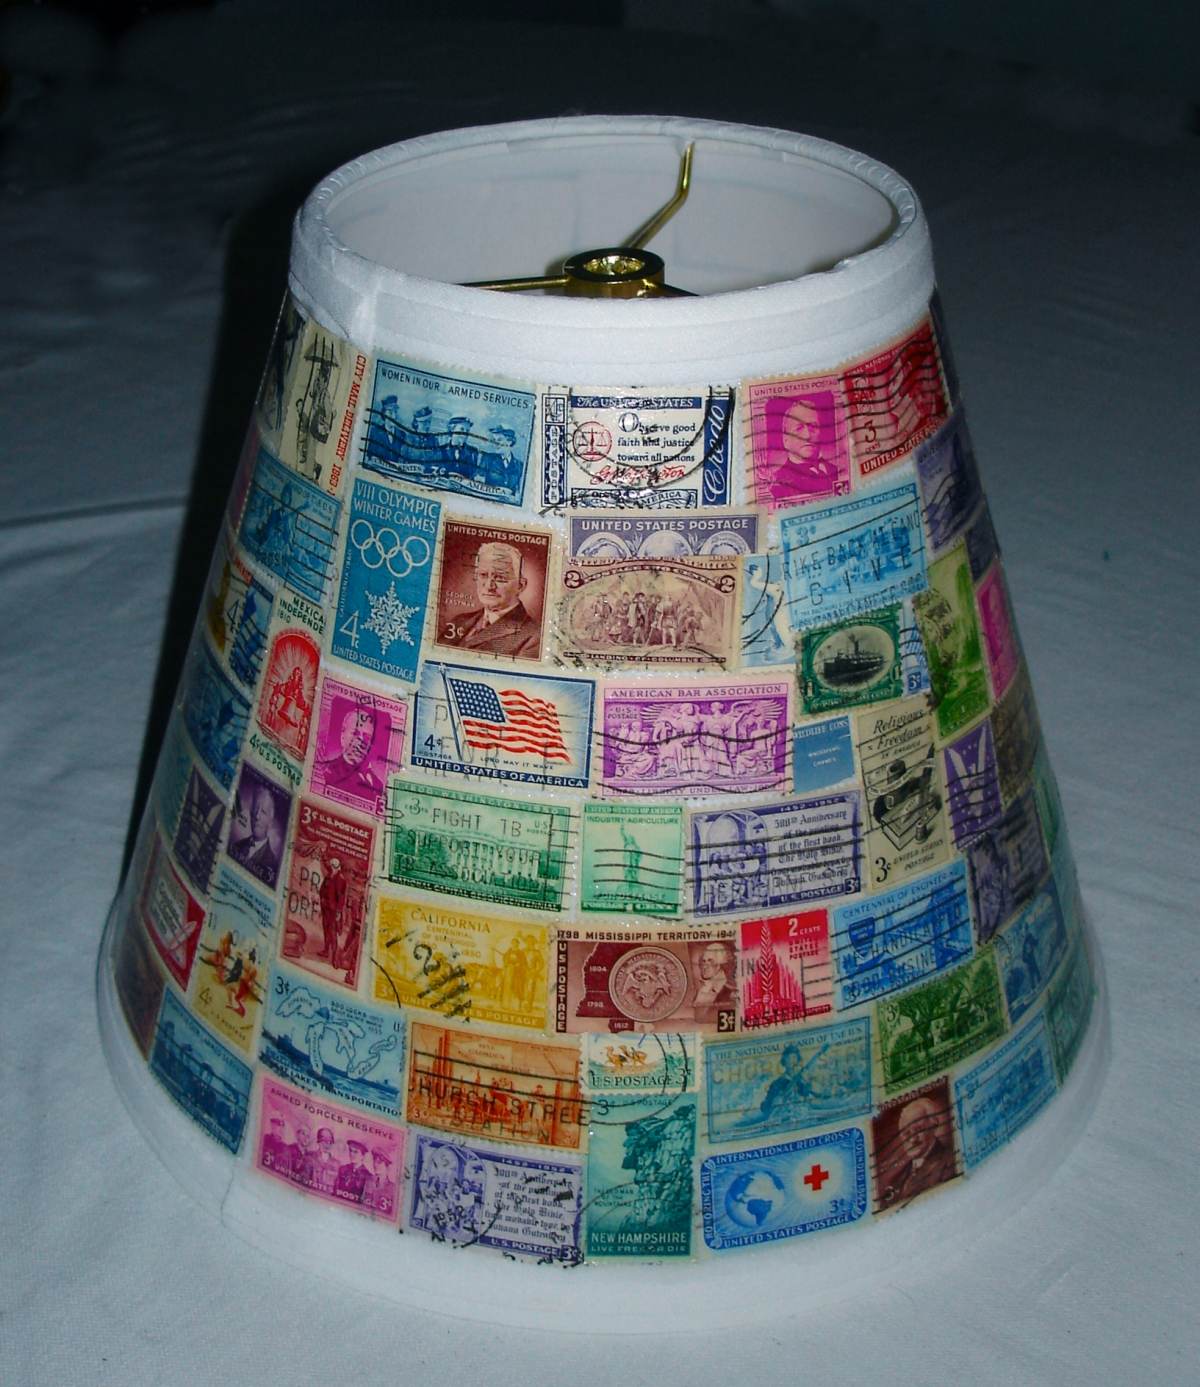
How To Decoupage
A Stamp Lamp Shade
By Don Denman
Great Project To Introduce Kids To Stamps
Splendid Gift For Friends or Family
Stylish Addition To Any Desktop
Before beginning gather the stamps you would like to use; the possibilities are endless but of course do not use any stamps which are valuable. This is a great use for damaged stamps. Topical lamp shades are quite popular to anyone who might not even be a stamp collector. If you have a family member, child, or friend who is interested in birds, flowers, space travel, plants, or even Disney; you can make a lamp shade for them. Make sure you have enough stamps to cover the entire lamp shade plus some. Coming up short by 10 stamps is not where you want to be as you close in on completion.
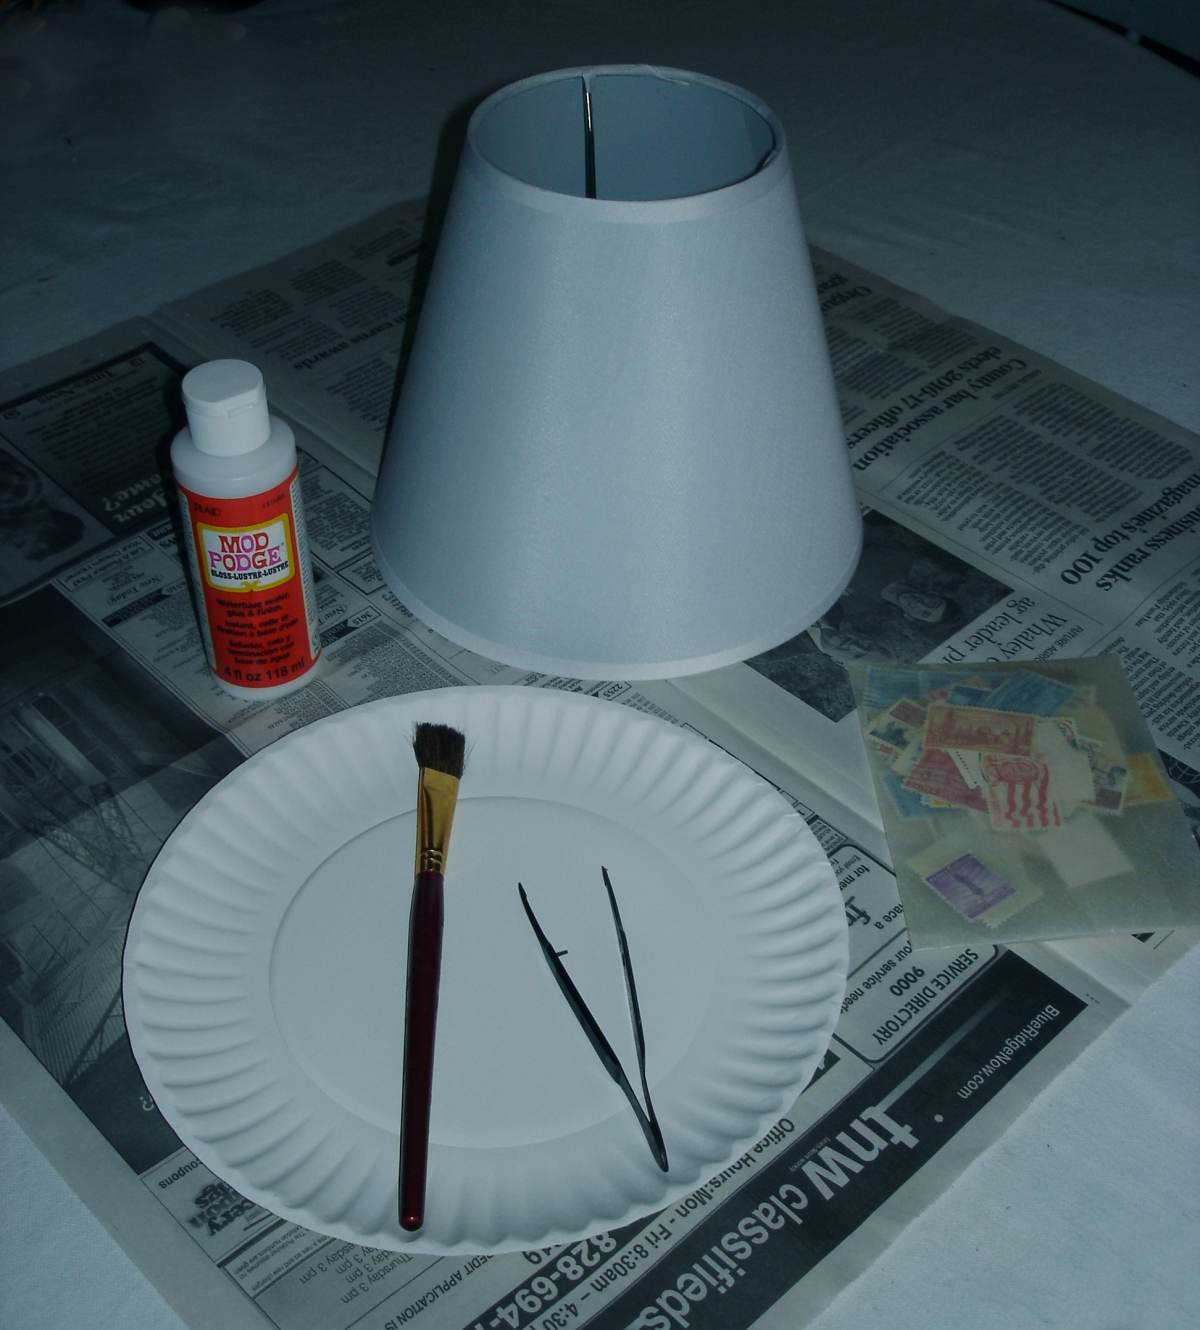
Materials Needed
Materials Needed
1 - 8" Lamp Shade, white, smooth texture. ($7 at Box Stores)
1 - 4 oz. Mod Podge Gloss Glue/Finish
1 - Artist Brush (Fine hairs)
1 - Stamp Tongs
1 - Paper Plate (Use for Mod Podge)
60-70 - Stamps (Depending upon stamp size)
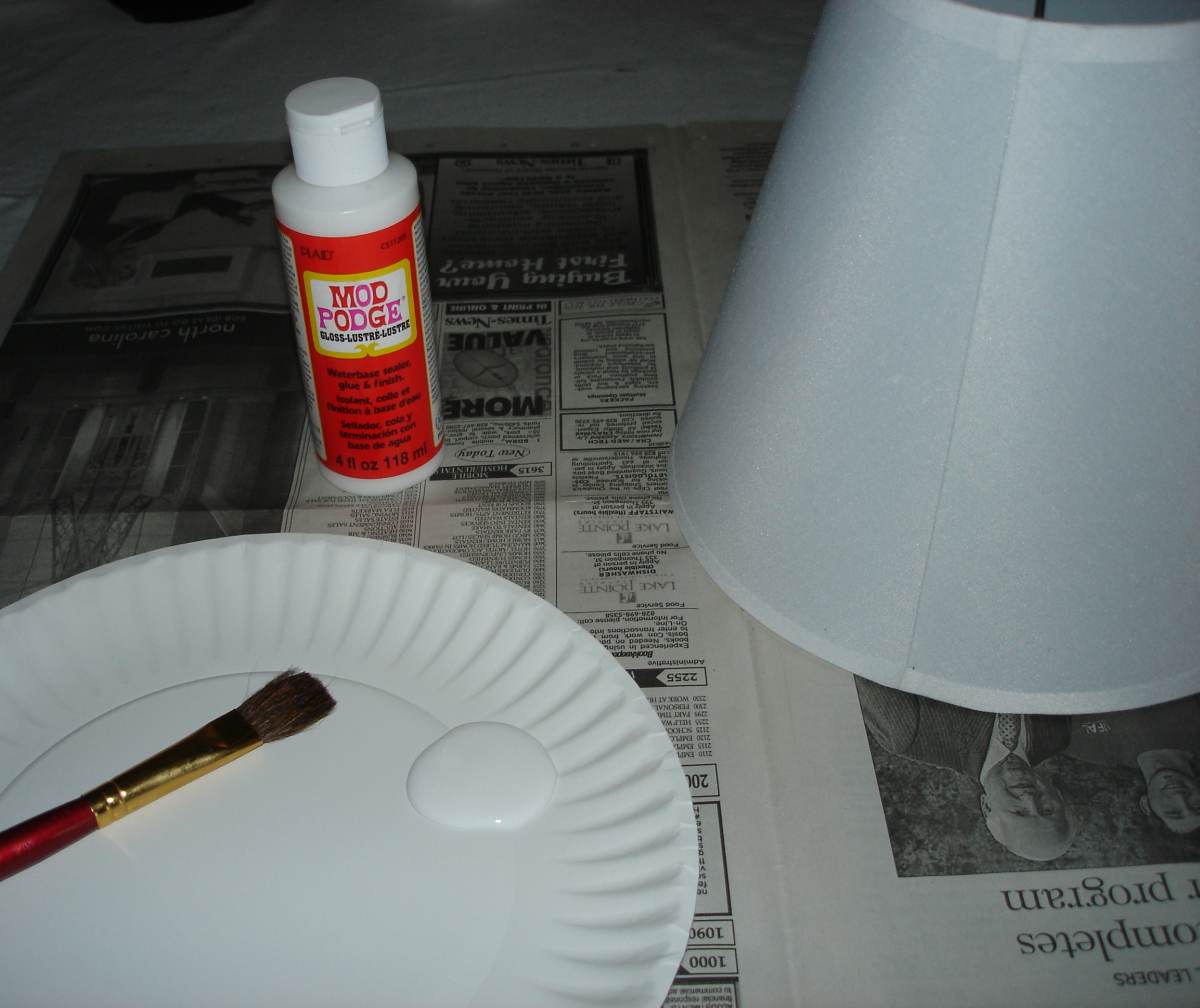
Step 1
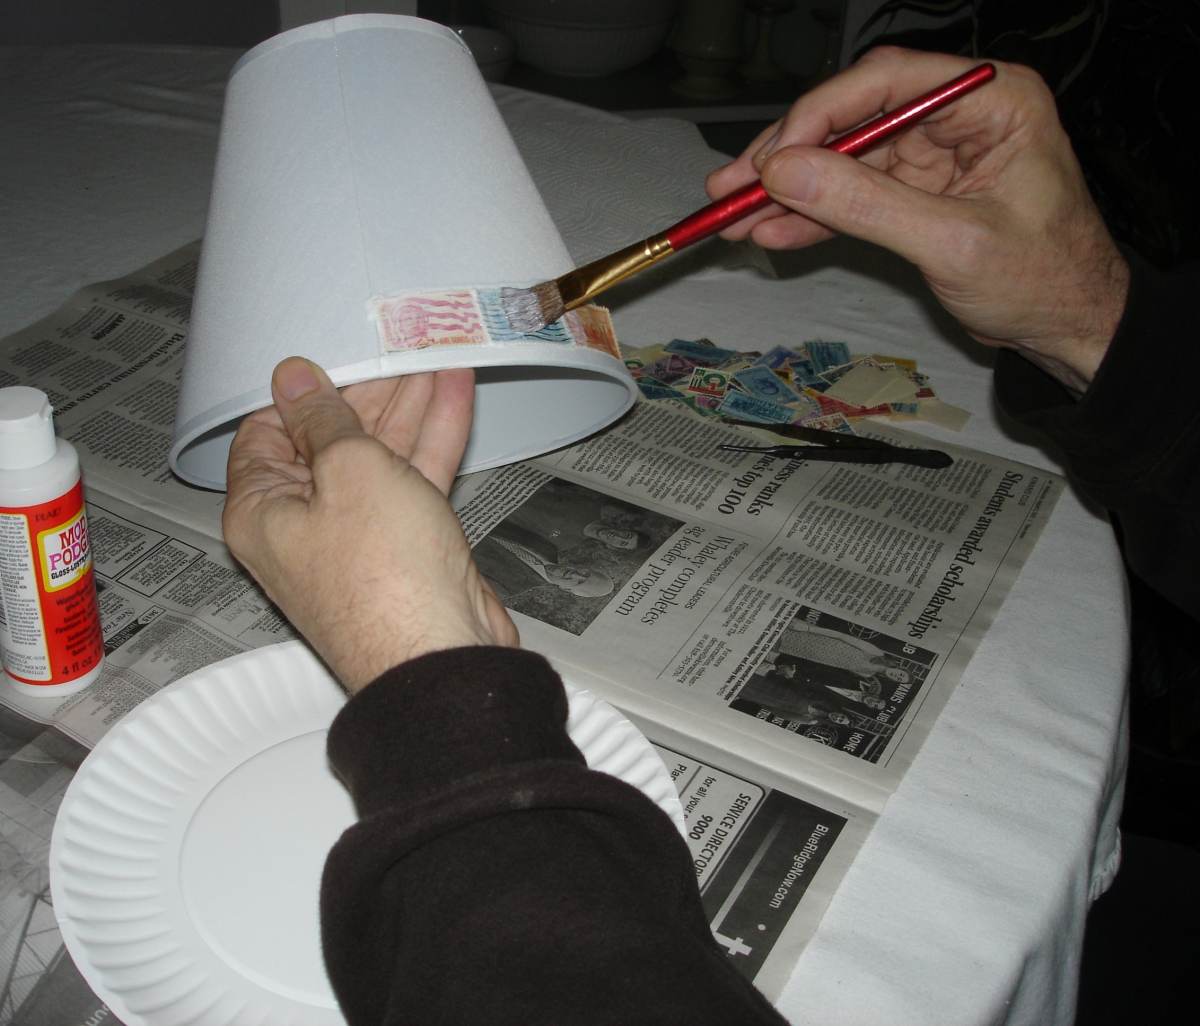
Begin by dispensing a small amount of the Mod Podge glue/finish. This product both adheres the stamp to the lamp shade and provides a finishing coat on the final product. It is recommended that you begin at the lamp shade seam.
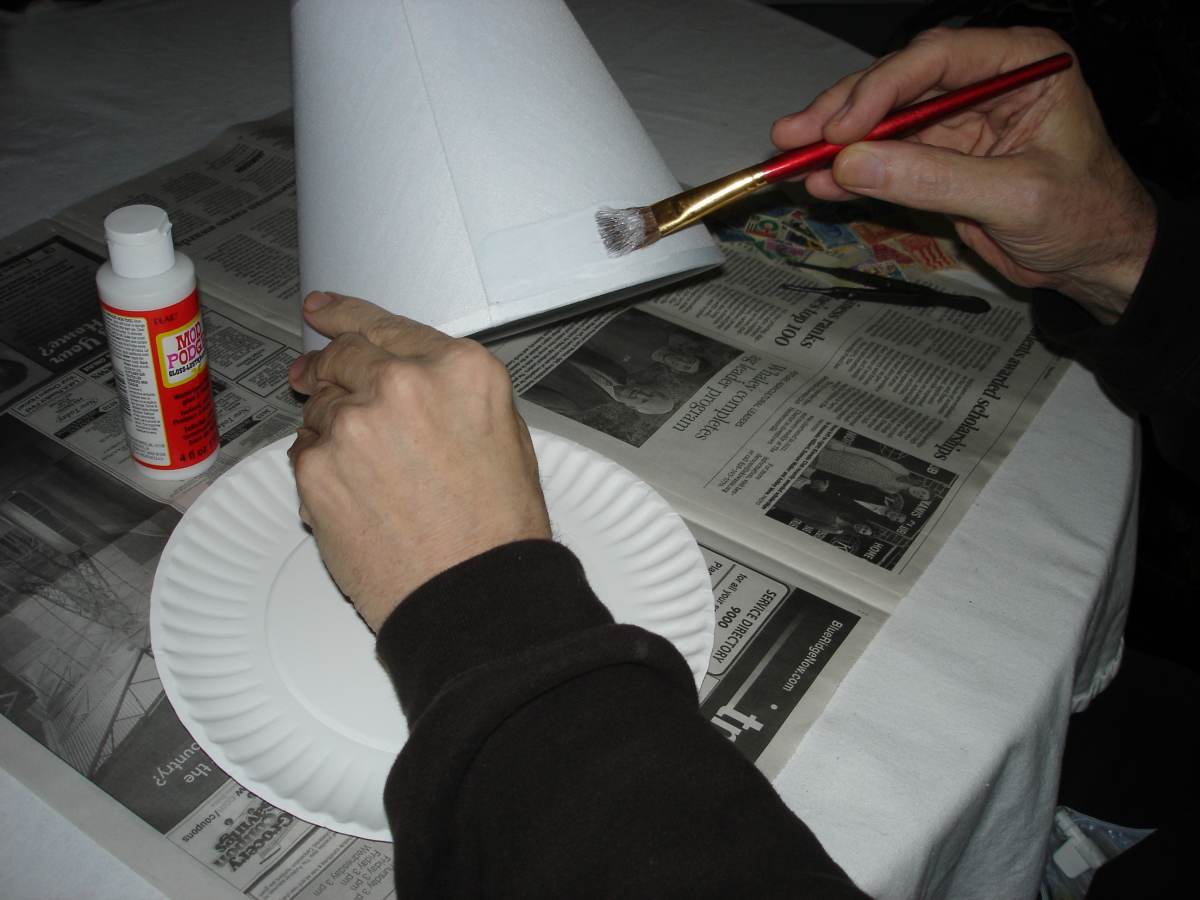
Step 2
Apply a thin, smooth coat of Mod Podge along the lower rim of the lamp shade. Try to avoid getting on the rim itself, use wet paper towel to remove any accidents. You will want to move horizontally at about 4 stamps at a time. The height of the Mod Podge application should be just a bit taller than your stamps.
Step 3
After placing your first four stamps, make any minor position adjustments before starting to seal the stamps. Once you are satisfied; cover the stamps with a top coat of the Mod Podge. Make sure the edges of the stamps are sealed, smooth any wrinkles. The wet Mod Podge goes on with a milky appearance; this will dry to a clear, glossy coat.
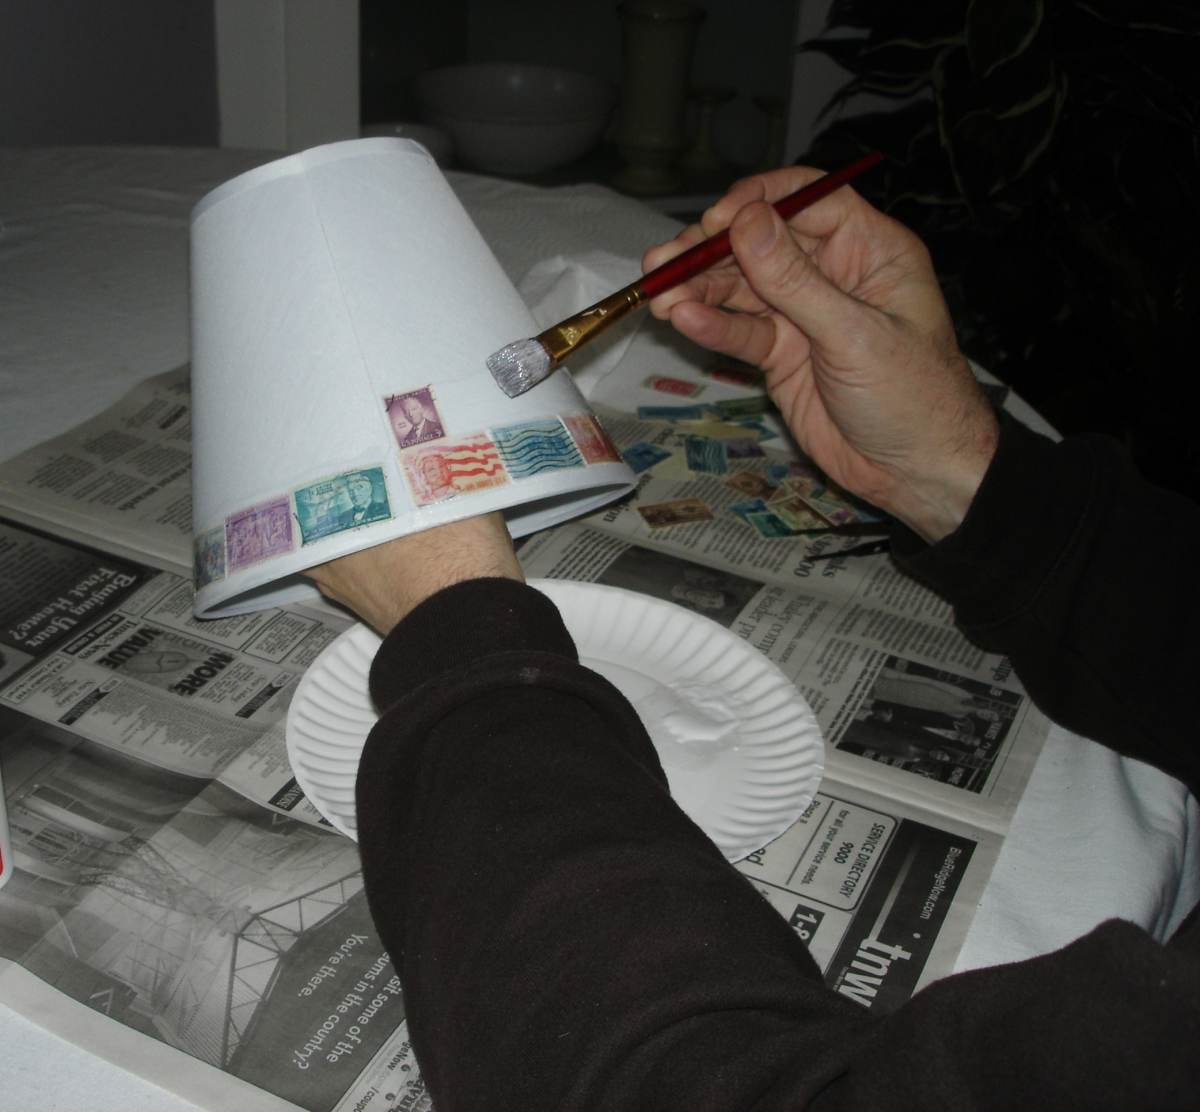
Step 4
Allow your first row to dry, this typically takes around 15-30 minutes. Once dry and as you start the second horizontal row, make sure you begin with a different length stamp. This will ‘offset’ the row so that the spaces between the stamps do not all line up; random placement typically looks better.
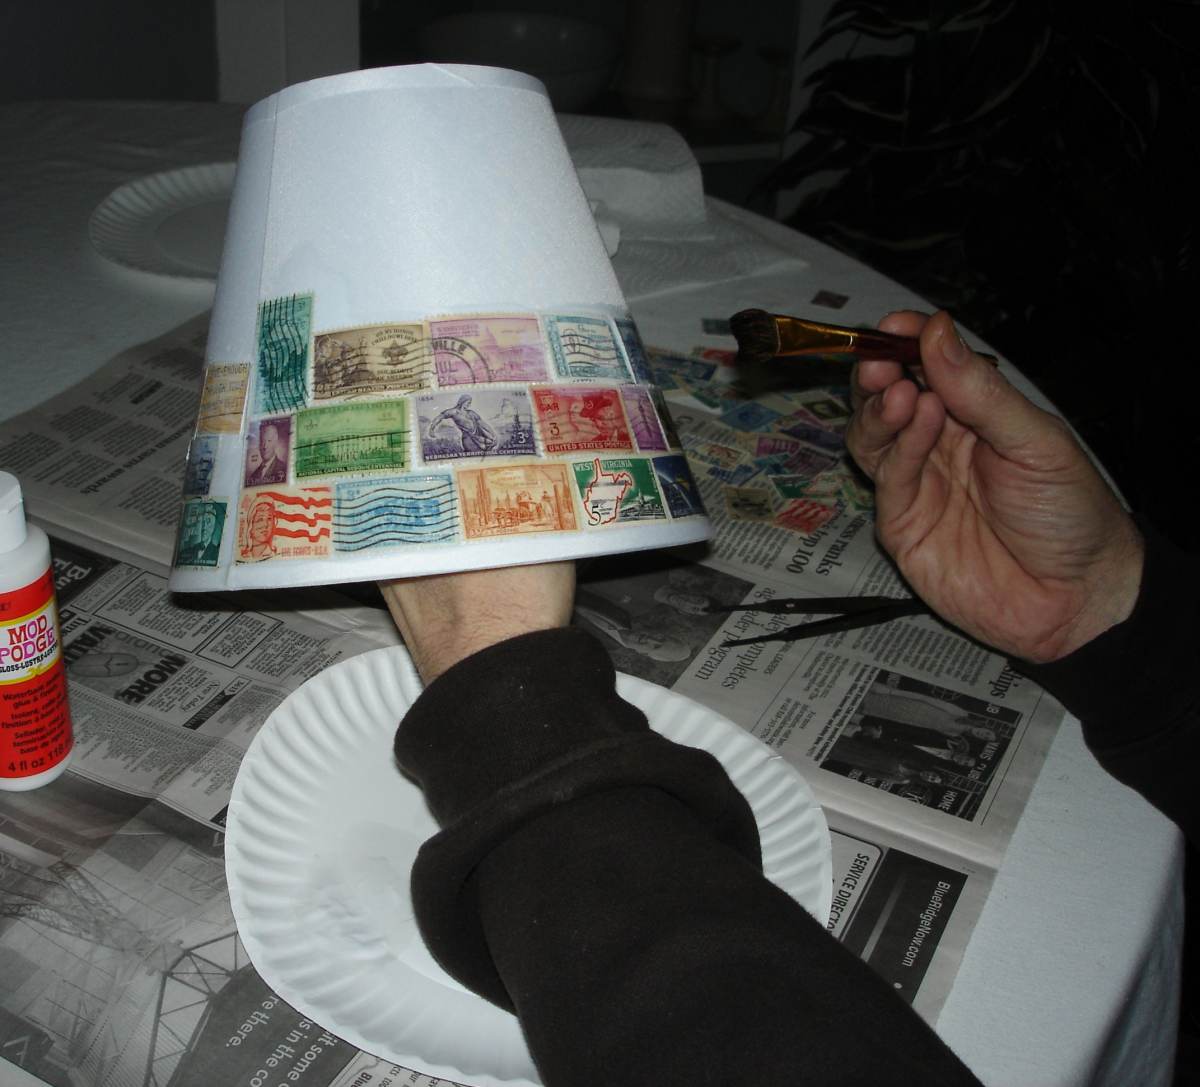
Step 5
Allow the second row to dry (15-30 minutes) to a clear, glossy look. Once dry, again begin the third row with a stamp of a different length so the seams do not line up with the second row. You can add some vertical stamps but be prepared that this puts you into ‘jig saw’ mode as you add additional rows. This can be part of the fun, just be sure to plan ahead as you place each set of four stamps.
Step 5
At the end of end row, do not worry about any gaps. You can either trim the stamp to meet the seam or you can patch in stamps pieces. By keeping all the patched along the lamp shade seem, they will be less noticeable.
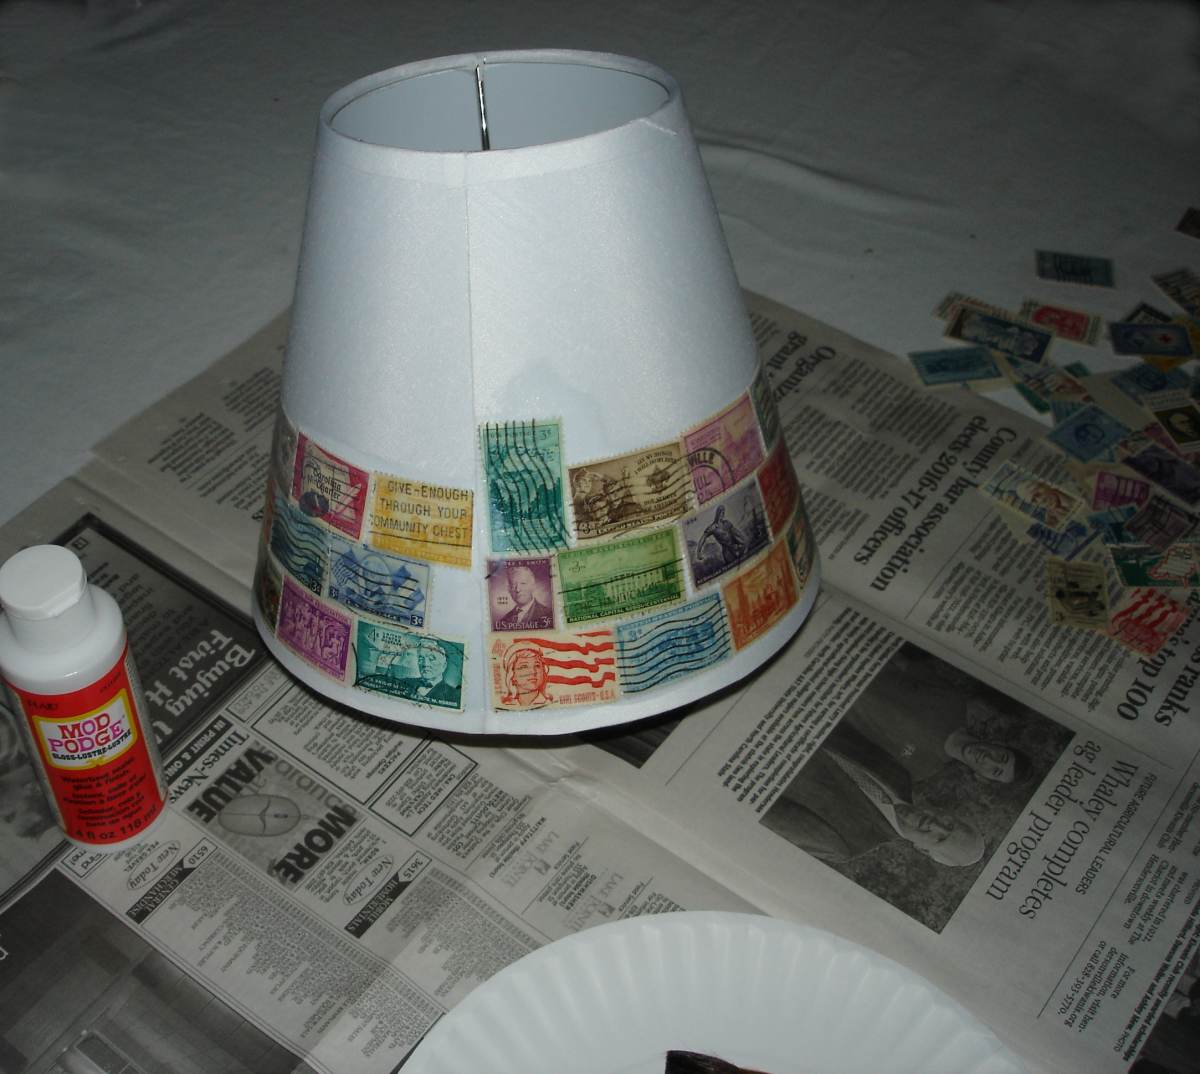
Step 5
Work towards the top with the remaining rows. Once you have completed the entire lamp shade and have pieced in any gaps with stamps; seal the entire lamp shade with a final cover of Mod Podge. Use a thin, smooth coat and try to avoid any drips or streaks. Allow to dry for a few hours and your stamp lamp shade is ready to use!